Coolify is an open-source platform for deploying and managing applications, databases, and static sites that can be self-hosted on your own cloud server.
What you need
You need an account for the Hetzner Cloud.
- Hetzner Cloud: https://www.hetzner.com
Note: We use Hetzner Cloud in this guide as it offers a ready-made solution to effortlessly install Coolify on your own server.
Deploy Coolify using Hetzner Cloud
Step 1: Create your server
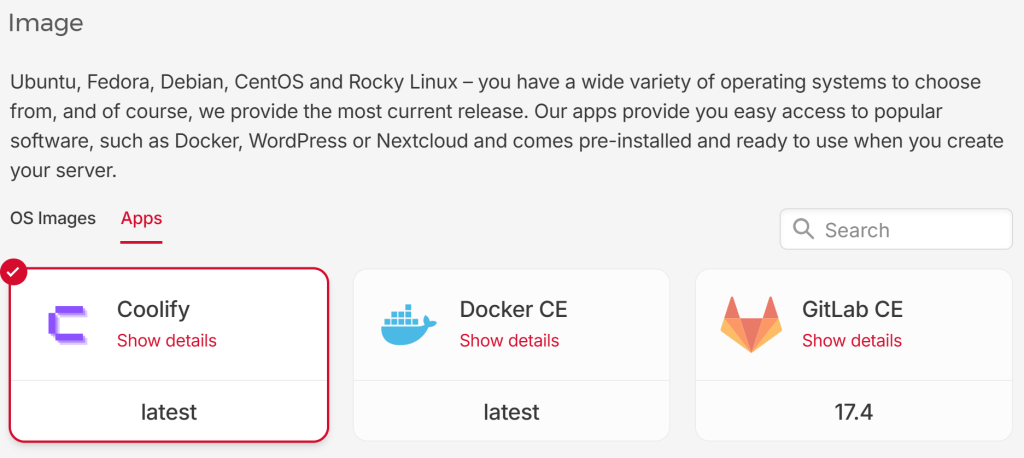
Simply set up a new server inside your Hetzner Cloud and choose Coolify as the app image of your server.

Step 2: Connect to your server
You can connect to your server via either your root password or your SSH key.
The following example shows how you can authenticate yourself to your server using an SSH key (replace 123.456.789.01 with your server’s IP address).
ssh root@123.456.789.01Step 3: Open Coolify
You can find your new Coolify instance running on your server’s IP address under port 8000.
Here is an example:
123.456.789.01:8000 # Example server IP address with Port 8000Step 4: Add your custom domain
After you first accessed Coolify through your server’s IP address under port 8000 in your browser and set up an admin profile, you can change the IP address to a custom domain.
Simply navigate to “Settings” and type in your own domain (e.g., coolify.example.com). Don’t forget to save the changes before you continue.
Next up, open your domain registrars interface and set up a new DNS type A record. In our example, the correct set-up would look like this:
| Record type | Name | IPv4 |
|---|---|---|
| A | coolify | 123.456.789.01 |
Congrats, you’re all set! ✨
FAQ
Coolify is an open-source platform for easily hosting and managing applications, databases, and static websites on self-hosted servers.
Coolify supports Node.js, Python, PHP, Ruby, Go, and many other frameworks, as well as static websites.
Yes, Coolify can be installed on any server that supports Docker. A server with at least 2 GB of RAM is recommended.

Leave a Reply